DIY Car Tinting: What You Need to Know Before You Start


Understanding the Basics of Car Tinting
DIY car tinting can be a rewarding project, allowing you to enhance the look and functionality of your vehicle. However, before diving into this project, it's essential to understand the basics of car tinting. Tinting not only improves aesthetics but also provides privacy, reduces glare, and blocks harmful UV rays. Understanding these benefits can help you decide the best tint for your needs.
Car tinting involves applying a thin laminate film to the glass surfaces of a vehicle. This film is available in various shades and materials, offering different levels of protection and privacy. Before starting, familiarize yourself with the tinting laws in your area, as regulations regarding the darkness and reflectivity of window tints vary by region.
Gathering Your Supplies
Once you've decided on the type of tint and checked local regulations, it's time to gather the necessary supplies. You'll need window tint film, a squeegee, a utility knife, a heat gun or hair dryer, a spray bottle with soapy water, and a lint-free cloth. Having these tools on hand will make the installation process smoother and more efficient.
When purchasing tint film, ensure it's high-quality to avoid bubbles and peeling over time. Quality films are often easier to work with and provide better results. It's also advisable to buy a little extra material in case of mistakes during installation.
Preparing Your Vehicle
Preparation is key to successful car tinting. Start by thoroughly cleaning your car windows inside and out. Any dirt or debris left on the glass can cause imperfections in the tint film. Use a glass cleaner and a microfiber cloth to ensure the surface is spotless. Pay special attention to the edges where dust tends to accumulate.
Next, measure your windows accurately to cut the tint film to size. This step is crucial as it prevents wastage and ensures a perfect fit. Cut the film slightly larger than the window size to allow for trimming once applied.
Applying the Tint
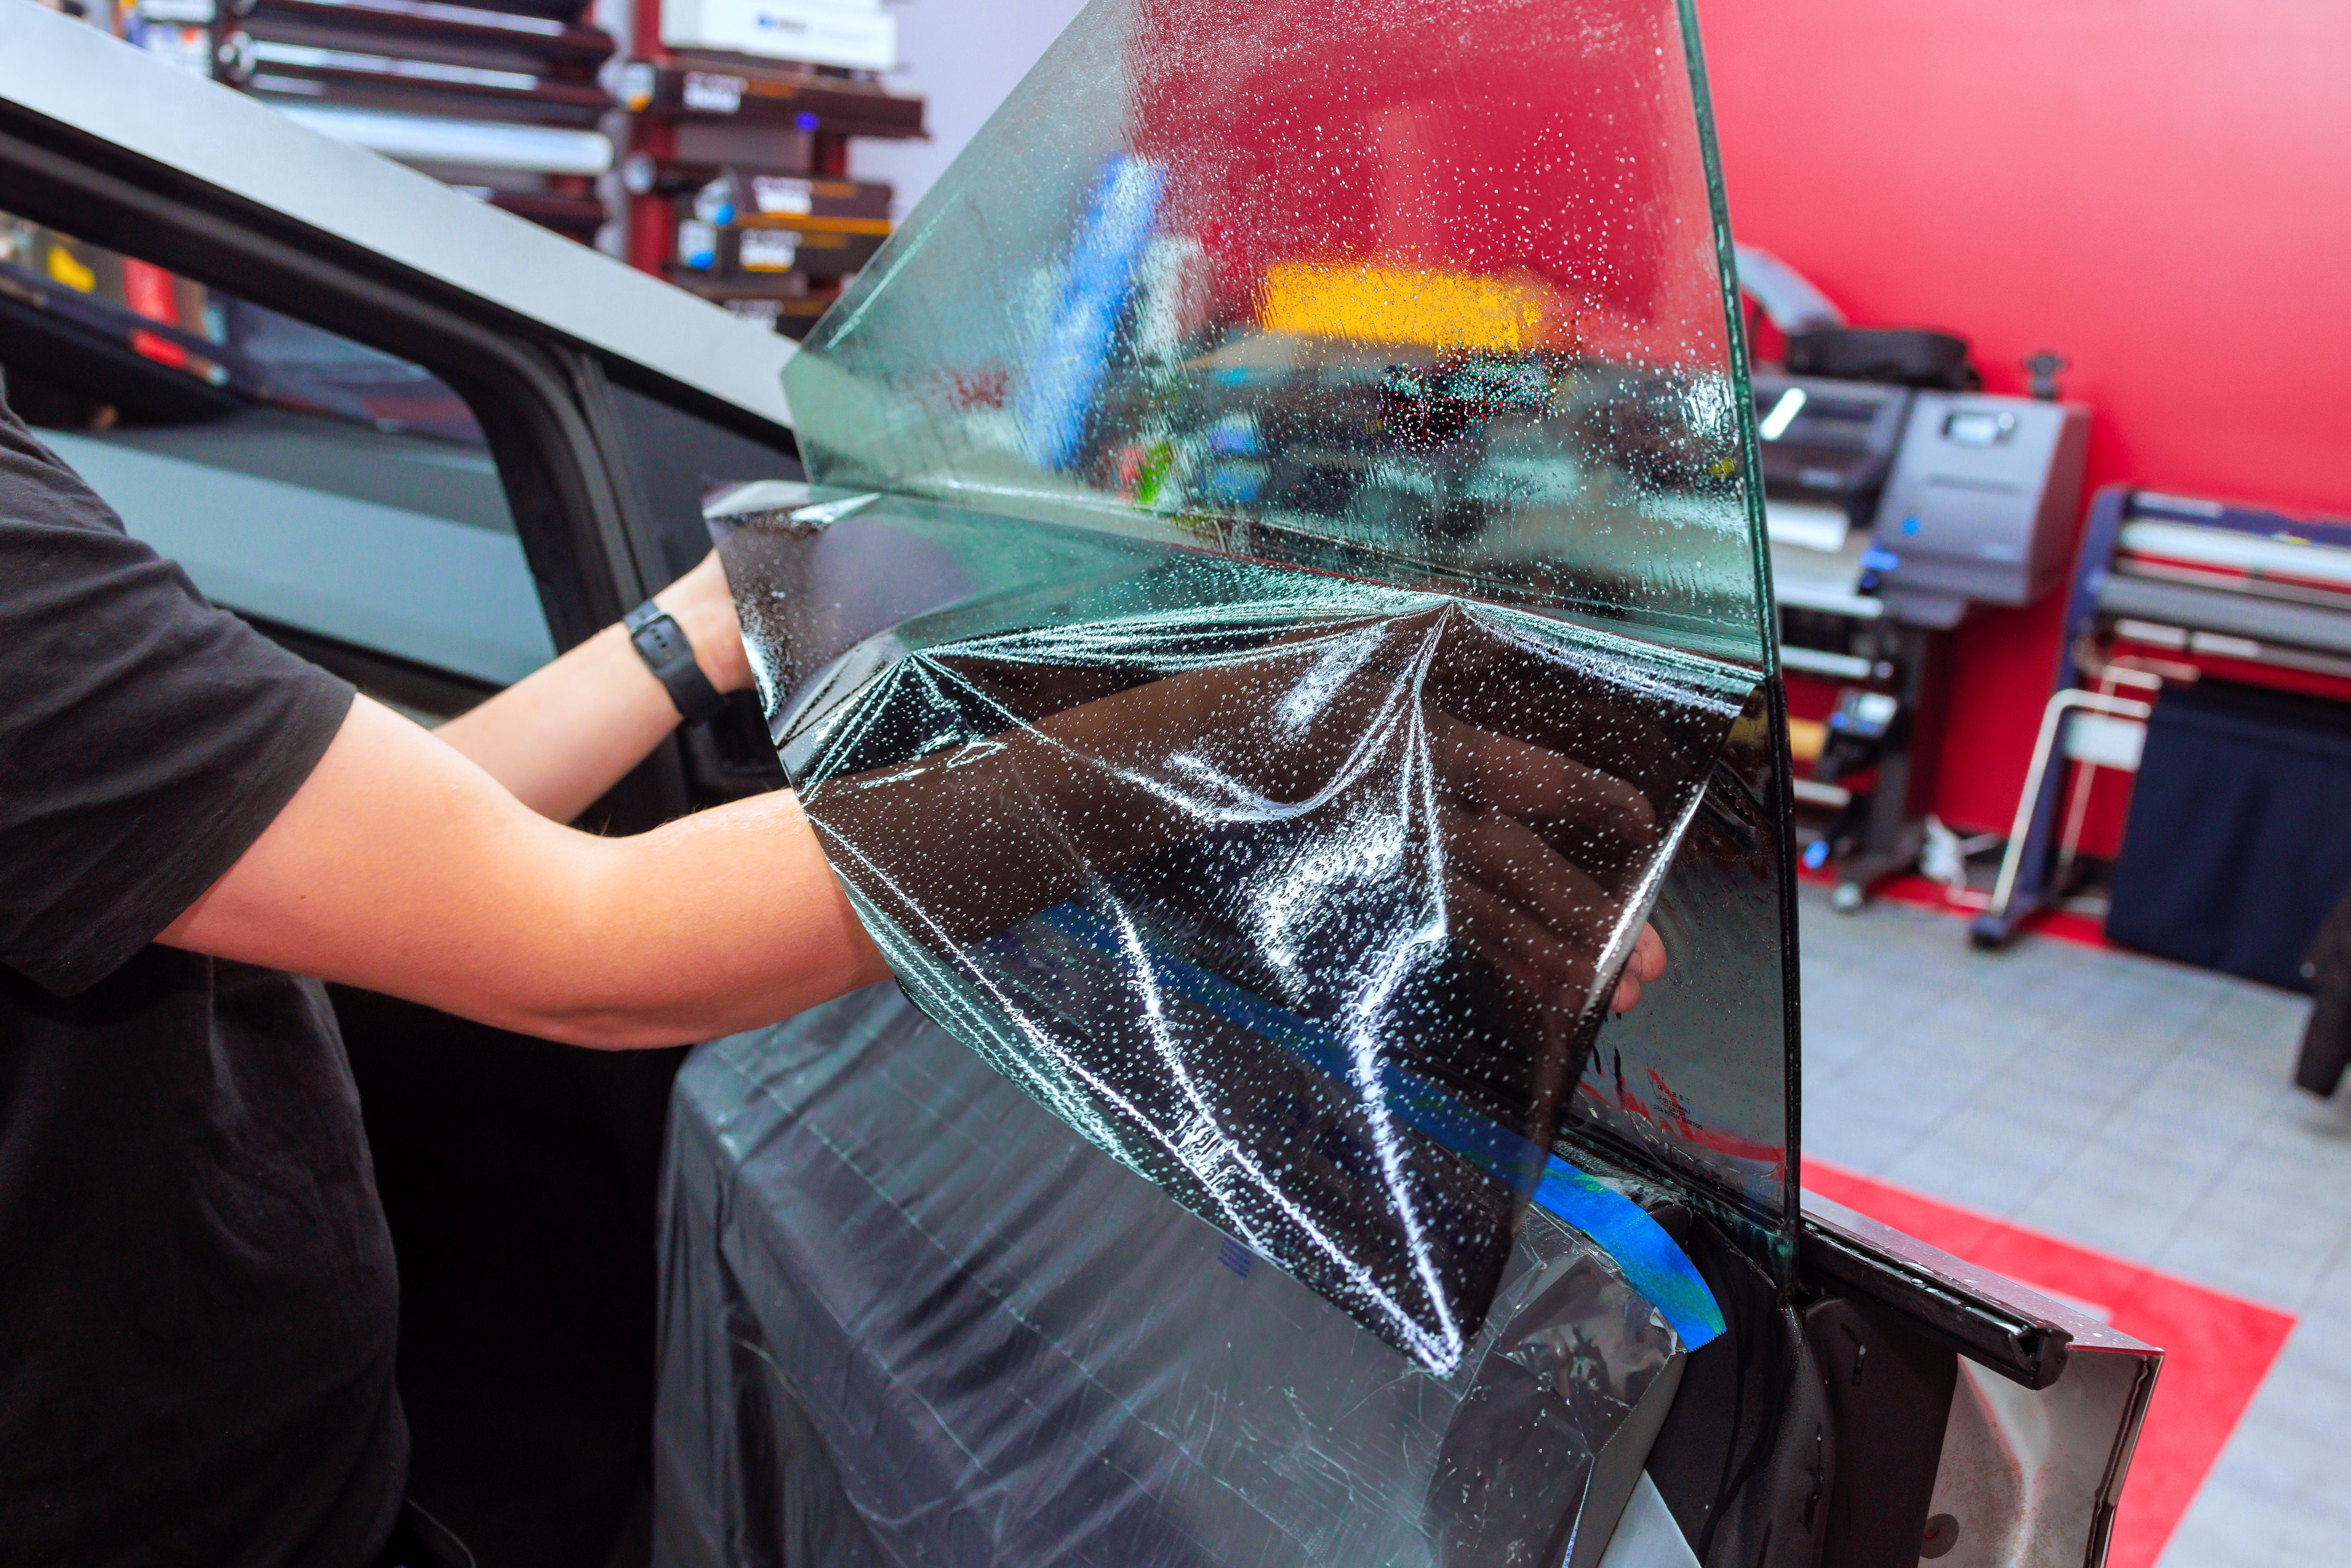
With your windows clean and your film cut, you’re ready to apply the tint. Start by spraying the soapy water solution generously on the inside of the window. This helps the film adhere smoothly and allows for repositioning if necessary. Carefully peel off the backing from the tint film and apply it to the window, starting from one edge.
Use the squeegee to remove air bubbles and excess water as you press down on the film. Work from the center outwards to ensure a smooth application. Once satisfied with the positioning, use a heat gun or hair dryer to set the film in place, being careful not to overheat and damage it.
Finishing Touches
After applying the tint, trim any excess film using a utility knife for a clean edge. Be cautious and use steady hands to avoid scratching the glass. Allow the tint to cure according to the manufacturer's instructions before using your windows normally.
Check for any air bubbles or imperfections once more. Minor adjustments can still be made during this phase by gently lifting and repositioning portions of the film if necessary.
Maintaining Your Tinted Windows
Proper maintenance ensures longevity for your tinted windows. Avoid rolling down your windows for at least 48 hours after installation to allow the tint to set completely. When cleaning tinted windows, use a mild cleaner and soft cloth to prevent scratching or peeling.
Regularly inspect your tints for signs of wear or damage. Promptly addressing any issues will keep your tints looking new and functioning effectively for years to come.